Aeropress
Coffee liberated from the constraints of gravity
A space-age contraption with gravity-defying aspirations, the AeroPress was invented by Aerobie just 38 miles from our Oakland roastery. Aerobie is responsible for creating the long-flying “superdisc” that broke Guiness World Records when it soared 1,333 feet into the air. (Take that, frisbee!) The same mastery of aerodynamics comes into play here, with this peculiar and lovely device for brewing coffee.
- WHAT YOU'LL NEED
Blue Bottle Coffee dripper
Blue Bottle Coffee filters
Kettle Grinder
Digital scale Timer
COFFEE AMOUNT
15–18 grams
Grind Size
Slightly finer than sea salt
WATER AMT AND TEMP
200g (7 oz)
205° - 210°
Brew time
1 - 1:30 minutes
Step One
Prepare your water and coffee
Bring 7 oz (200 g) of water to a boil. Weigh out 15–18 grams of coffee. Grind to a texture slightly finer than sea salt.

Step Two
Prepare the filter
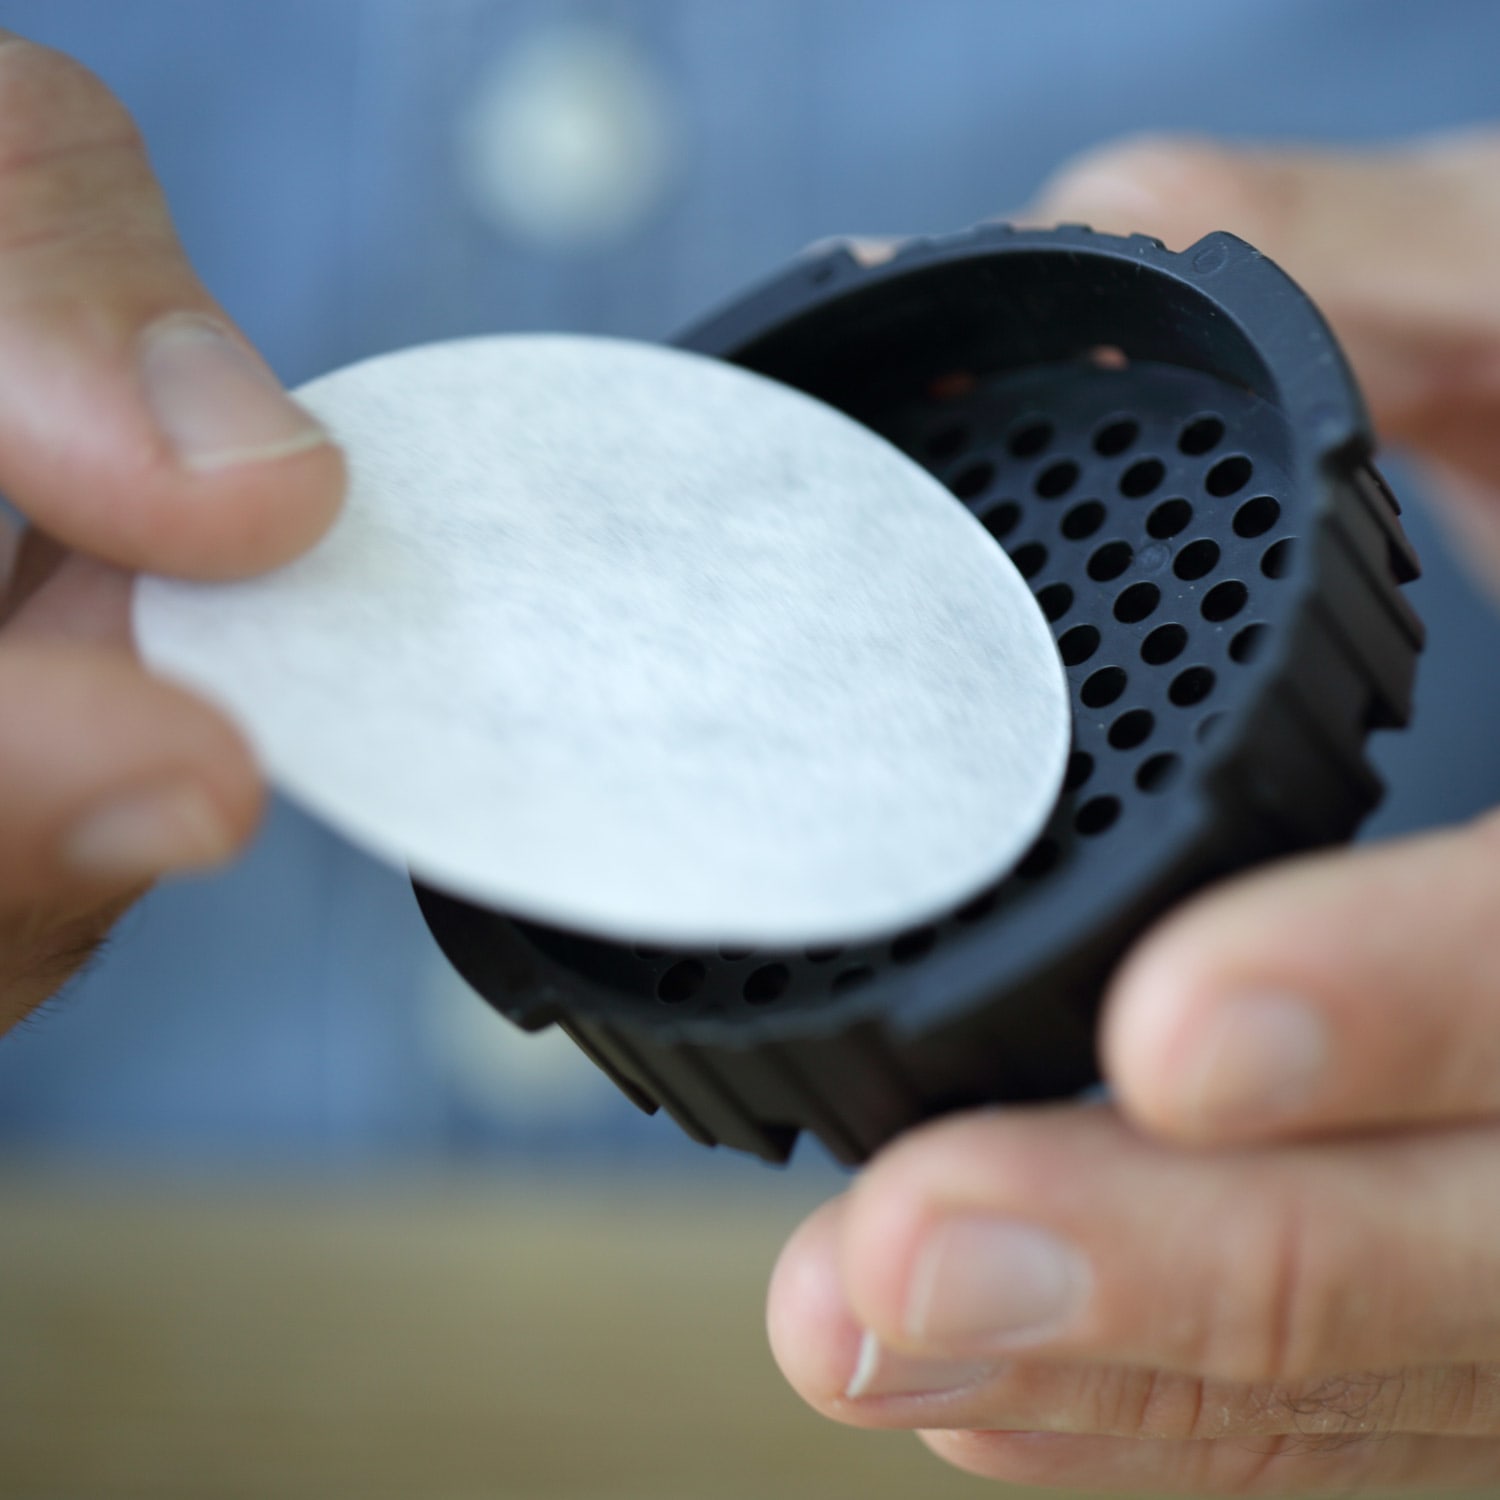
Insert a paper filter into the AeroPress's detachable plastic cap.
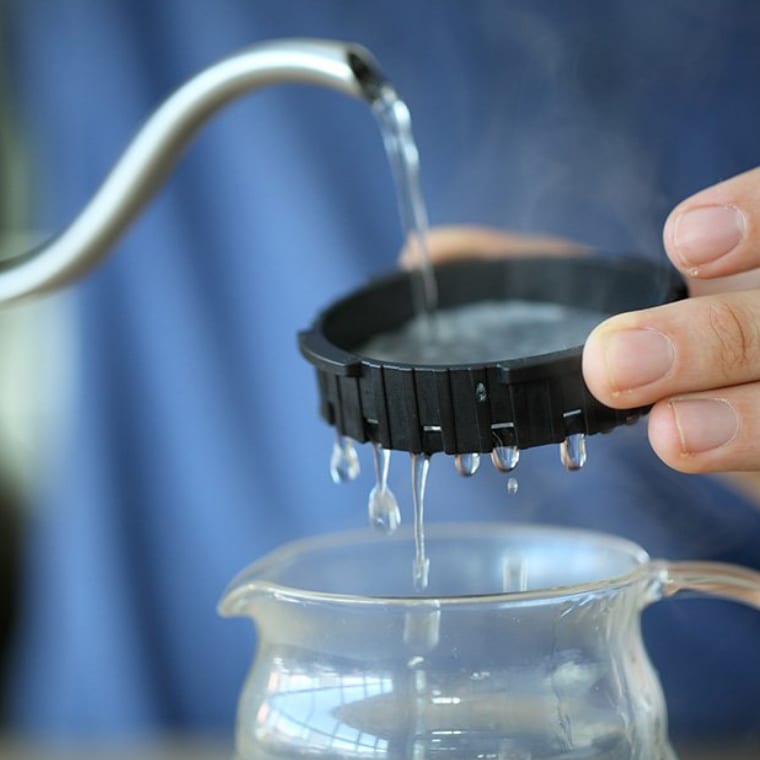
Use some of your hot water to wet your filter and cap. The water serves a dual function here: It helps the filter adhere to the cap, and heats your brewing vessel. This can be challenging as the water is hot and the cap is quite small: Hold the cap by its “ears” and pour the water very slowly so it can be absorbed by the filter.
Image Carousel
- Slide 101(Current Slide)
- Slide 202
Step Three
Assemble your AeroPress
Make sure the entire assembly is dry, since any residual moisture can compromise the device’s seal.

Step Four
Place it on your scale with the flared end up, then tare the weight.
The numbers should appear upside-down. It’s possible to attach the black filter cap and place it right side-up, but this tends to cause leakage and make accurate brewing difficult.

Step Five
Add your ground coffee.
Be careful not to spill any grounds into the ring-shaped gutter at the top of the AeroPress.

Step Six
Saturate your coffee grounds
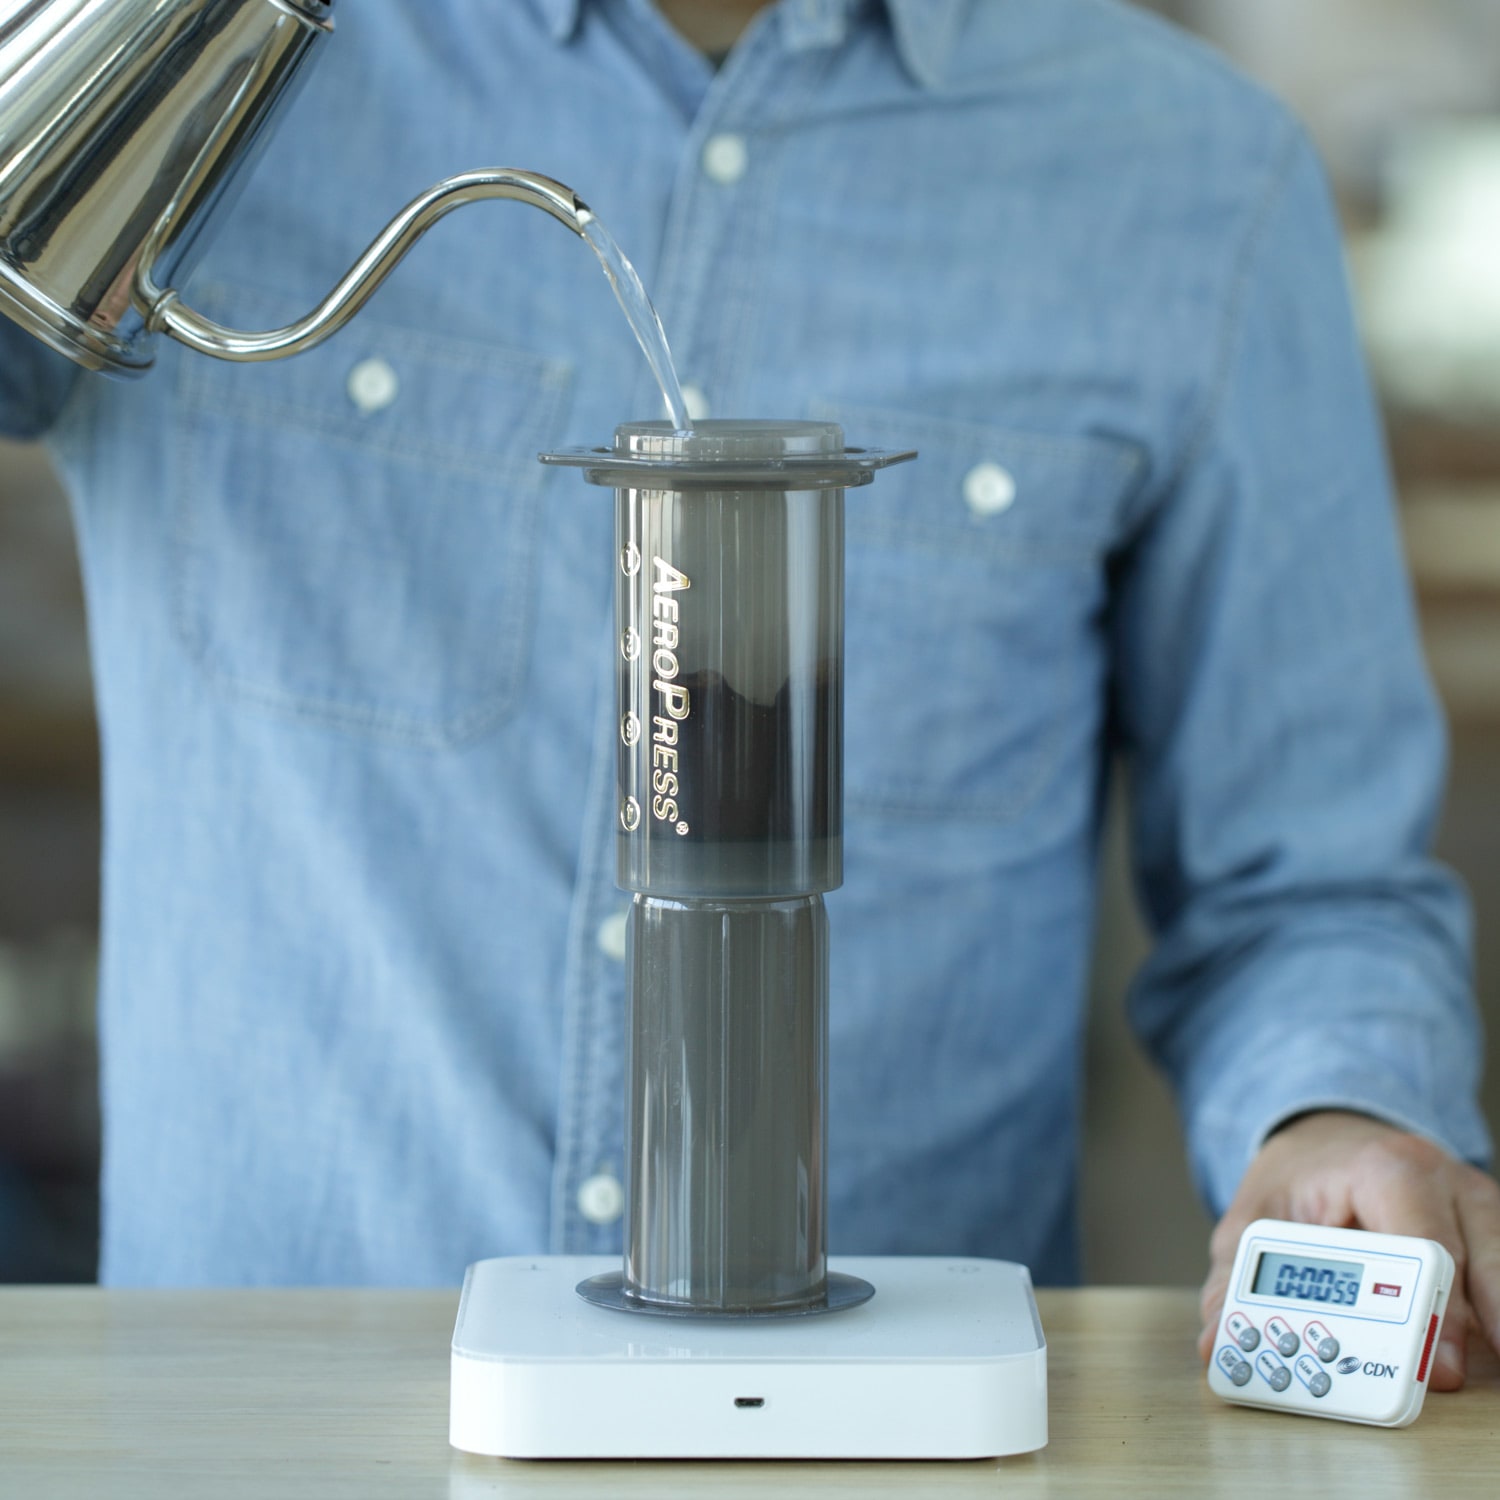
Start a timer. Add twice the weight of water than you have grounds (e.g., for 15 grams coffee, add 30 grams water). The water should be about 200 degrees F.
Make sure the coffee is saturated evenly, tamping slightly with the paddle or butter knife if necessary, and let it sit for 30 seconds.

Step Seven
Fill the chamber and stir
Use the remainder of the hot water to fill the chamber. After a minute has elapsed, stir grounds 10 times to agitate.

Step Eight
Fasten the cap and flip
Fasten the cap, ensuring it locks into the grooves tightly. Flip the whole assembly over with haste and control.

Step Nine
Apply pressure
Position it atop your brew vessel and begin applying downward pressure. You will experience about 30 pounds of resistance here. If the pushing feels too easy, your grind is likely too coarse; if it’s very hard to push, chances are the grind is too fine. Your coffee is fully brewed once it begins to make a hissing sound. This means there is no more water to push through the device.

Step Ten
Discard the puck and enjoy
Once you’ve unscrewed the cap, you can pop out the filter and the puck of condensed grounds by simply pushing AeroPress’s interior section a final inch.


