The Chemex is a classic manual pour over brewer known for its timeless design and exceptional clarity in the cup. Made from a single piece of non-porous glass and paired with thick bonded paper filters, the Chemex allows coffee to brew cleanly and evenly without absorbing odors or flavors. For those wondering what sets it apart when learning how to make Chemex coffee, the answer lies in its filtration and flow rate — both of which highlight delicate aromatics, crisp acidity, and nuanced sweetness.
If you’re new to the method, understanding what a Chemex is and how it works makes it easier to appreciate why it’s ideal for batch brewing. This Chemex brew guide walks through how to make Chemex coffee with precision, consistency, and elegance.
Brew Time
4:30–5:30 minutes
Grind Size
Medium-coarse
Coffee Dose
36–46 g
Water Amount
600 g
Share
Chemex Instructions
Chemex Instructions
1. Heat Your Water
Heat at least 600 g of water, plus extra for rinsing and preheating your filter, to a temperature of 200–210ºF. Darker roasts brew best on the cooler end of this range, while lighter roasts benefit from hotter water to fully extract their brightness and complexity.
2. Grind Your Coffee
Grind your coffee to a medium-coarse consistency.
This grind size works best with the Chemex’s thicker filter, promoting proper flow and preventing over-extraction. For blends, you may grind slightly finer to add body.
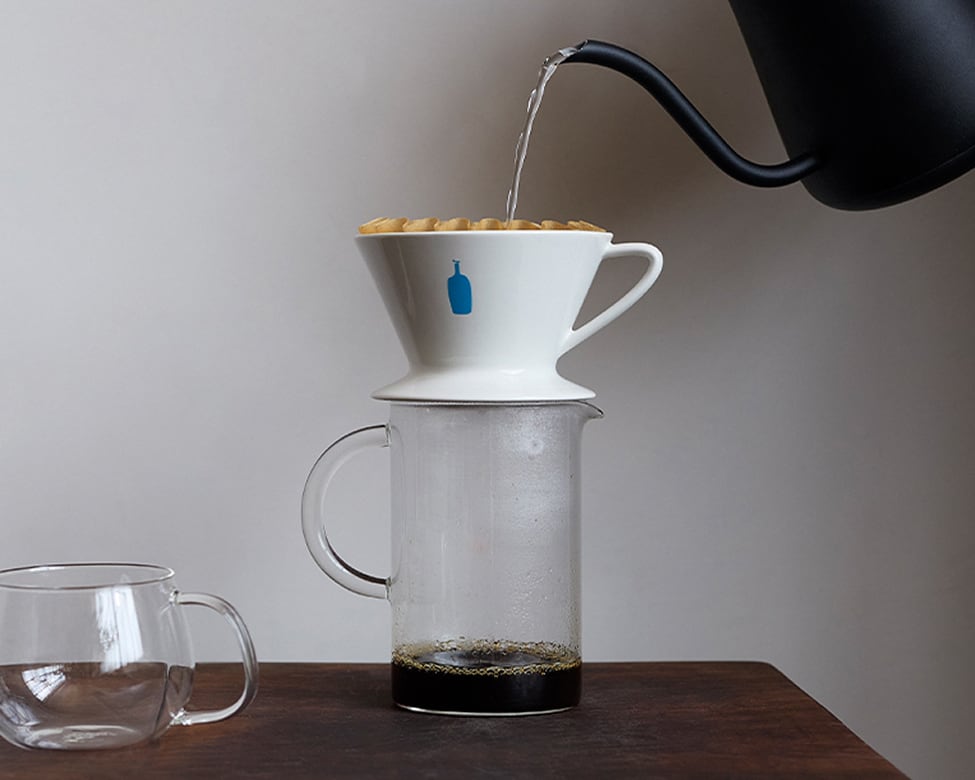
3. Prepare Your Chemex
Open the Chemex filter so three pleats rest against the spout side and one pleat sits on the opposite side. Rinse the filter thoroughly with hot water to remove any paper taste and preheat the Chemex. Discard the rinse water, add your ground coffee to the filter, and gently shake until the bed is level for even extraction.
4. Bloom the Grounds
Start your timer and scale at zero. Beginning in the center of the grounds, pour in a slow spiral at a rate of about 10 g per second until you reach 80 g on the scale.
This bloom step releases trapped gases and prepares the coffee for balanced extraction.
5. Begin Your First Pour
At 45 seconds, begin pouring again from the center in a controlled spiral, moving out to the edge of the filter and back in. Continue until you reach 300 g on the scale, rinsing grounds off the filter walls as needed. Aim to finish this pour at 1 minute.
6. Begin Your Second Pour
At 1:20, repeat the same spiral pouring pattern until the scale reaches 400 g. Maintain a steady flow and aim to complete this pour by 1:30.
7. Begin Your Third Pour
At 1:50, follow the same pattern and pour until you reach 500 g, finishing around 2 minutes.
This stage builds sweetness and depth.
8. Begin Your Final Pour
At 2:20, complete your final spiral pour using the same technique, bringing the total to 600 g on the scale. Aim to finish this pour at 2:30 minutes.
9. Wait for Your Finished Cup
Allow all the water to fully draw down through the coffee bed. Total brew time should land between 4:30 and 5:30 minutes, depending on coffee density. Denser coffees — such as many Ethiopian coffees — will brew longer, while Central and South American coffees tend to finish more quickly.
10. Enjoy Your Chemex Coffee Brew
Remove the filter and pour the finished coffee into mugs. Enjoy together — the Chemex is designed for batch brewing, making it ideal for sharing a clean, elegant cup.